Italian Sliders Recipe: The Best Hot Italian Sub Sliders
Jennifer
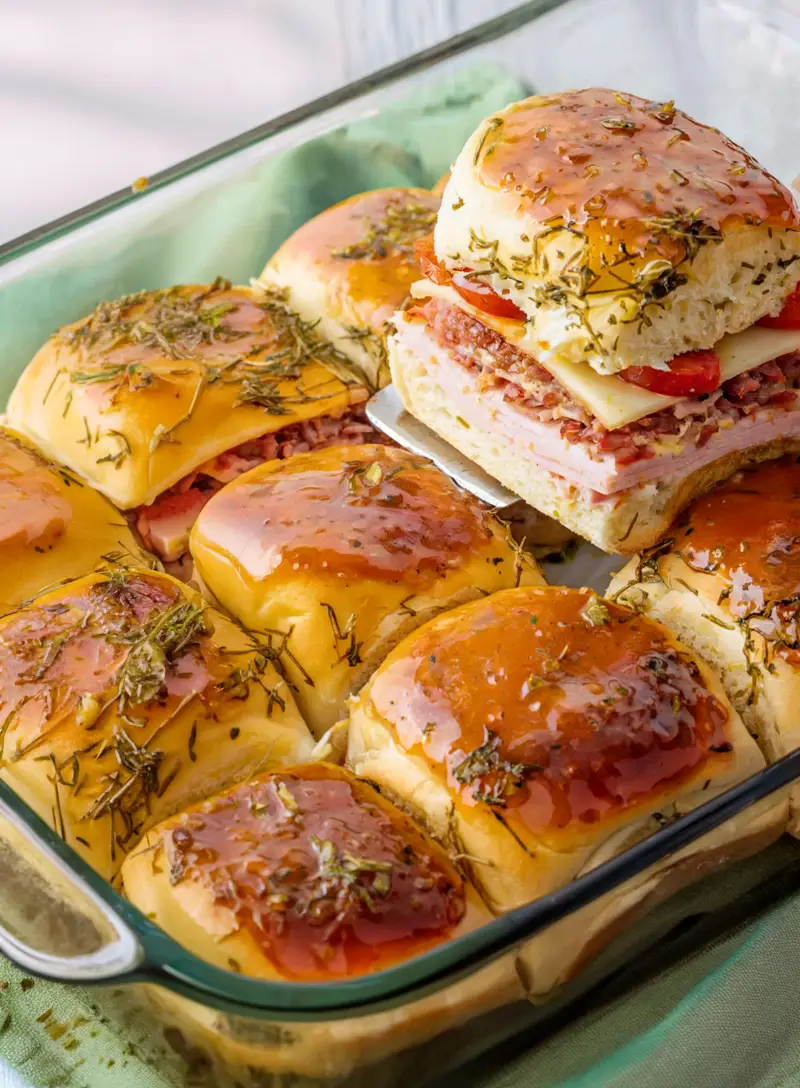
This Italian sliders Recipe brings the rich, bold flavors of classic Italian sandwiches into bite-sized portions, making them perfect for any occasion. Whether you’re hosting a party, preparing a quick family dinner, or simply craving something delicious, this recipe guarantees satisfaction. With layers of meats, cheeses, and a tangy lettuce mixture on buttery rolls, these sliders are as easy to make as they are to enjoy.
IN This Post:
History of Italian Sliders Recipe:
The concept of sliders originated in early 20th-century American diners. Known for their small size and convenience, sliders were initially served as mini hamburgers. Over time, this idea evolved, and chefs began experimenting with different fillings, creating a variety of sliders that cater to diverse tastes. Italian sliders, inspired by traditional Italian deli sandwiches, became a standout favorite.
Italian cuisine is known for its emphasis on fresh, flavorful ingredients, and Italian sliders capture this essence perfectly. From the salty, savory meats like salami and pepperoni to the creamy provolone cheese and tangy banana peppers, these sliders combine the best of Italian flavors into a handheld treat. Today, they’re a popular choice for gatherings and casual meals, offering a fun and shareable twist on classic Italian flavors.
Italian sliders also reflect the versatility of Italian cooking, allowing for endless customizations. Whether you prefer spicier meats, a heartier filling, or a lighter option, this recipe can be tailored to suit your preferences, making it a timeless favorite.
Why You’ll Love This Italian Sliders Recipe:
- Bursting with Flavor: Each slider is packed with bold, savory flavors. The combination of seasoned meats, creamy provolone cheese, and a tangy lettuce mixture creates a mouthwatering bite that’s hard to resist.
- Easy to Prepare: This recipe is straightforward and doesn’t require extensive prep time. Using simple, readily available ingredients, you can create a dish that looks and tastes gourmet in under an hour.
- Perfect for Any Occasion: Italian sliders are versatile enough to serve at parties, family dinners, or even as a quick snack. Their small size makes them ideal for sharing, and they pair well with various sides, from salads to fries.
- Customizable to Your Taste: One of the best aspects of this recipe is its adaptability. Prefer spicier flavors? Add some hot pepper flakes. Looking for extra creaminess? Add an extra layer of provolone or a drizzle of garlic aioli.
- Crowd-Pleasing Appeal: These sliders are guaranteed to impress your guests. Their presentation, combined with their irresistible taste, ensures they’ll be the highlight of any gathering.
Tips and Tricks for Success:
- Use Fresh Ingredients: High-quality meats and freshly shredded cheese make a noticeable difference in flavor.
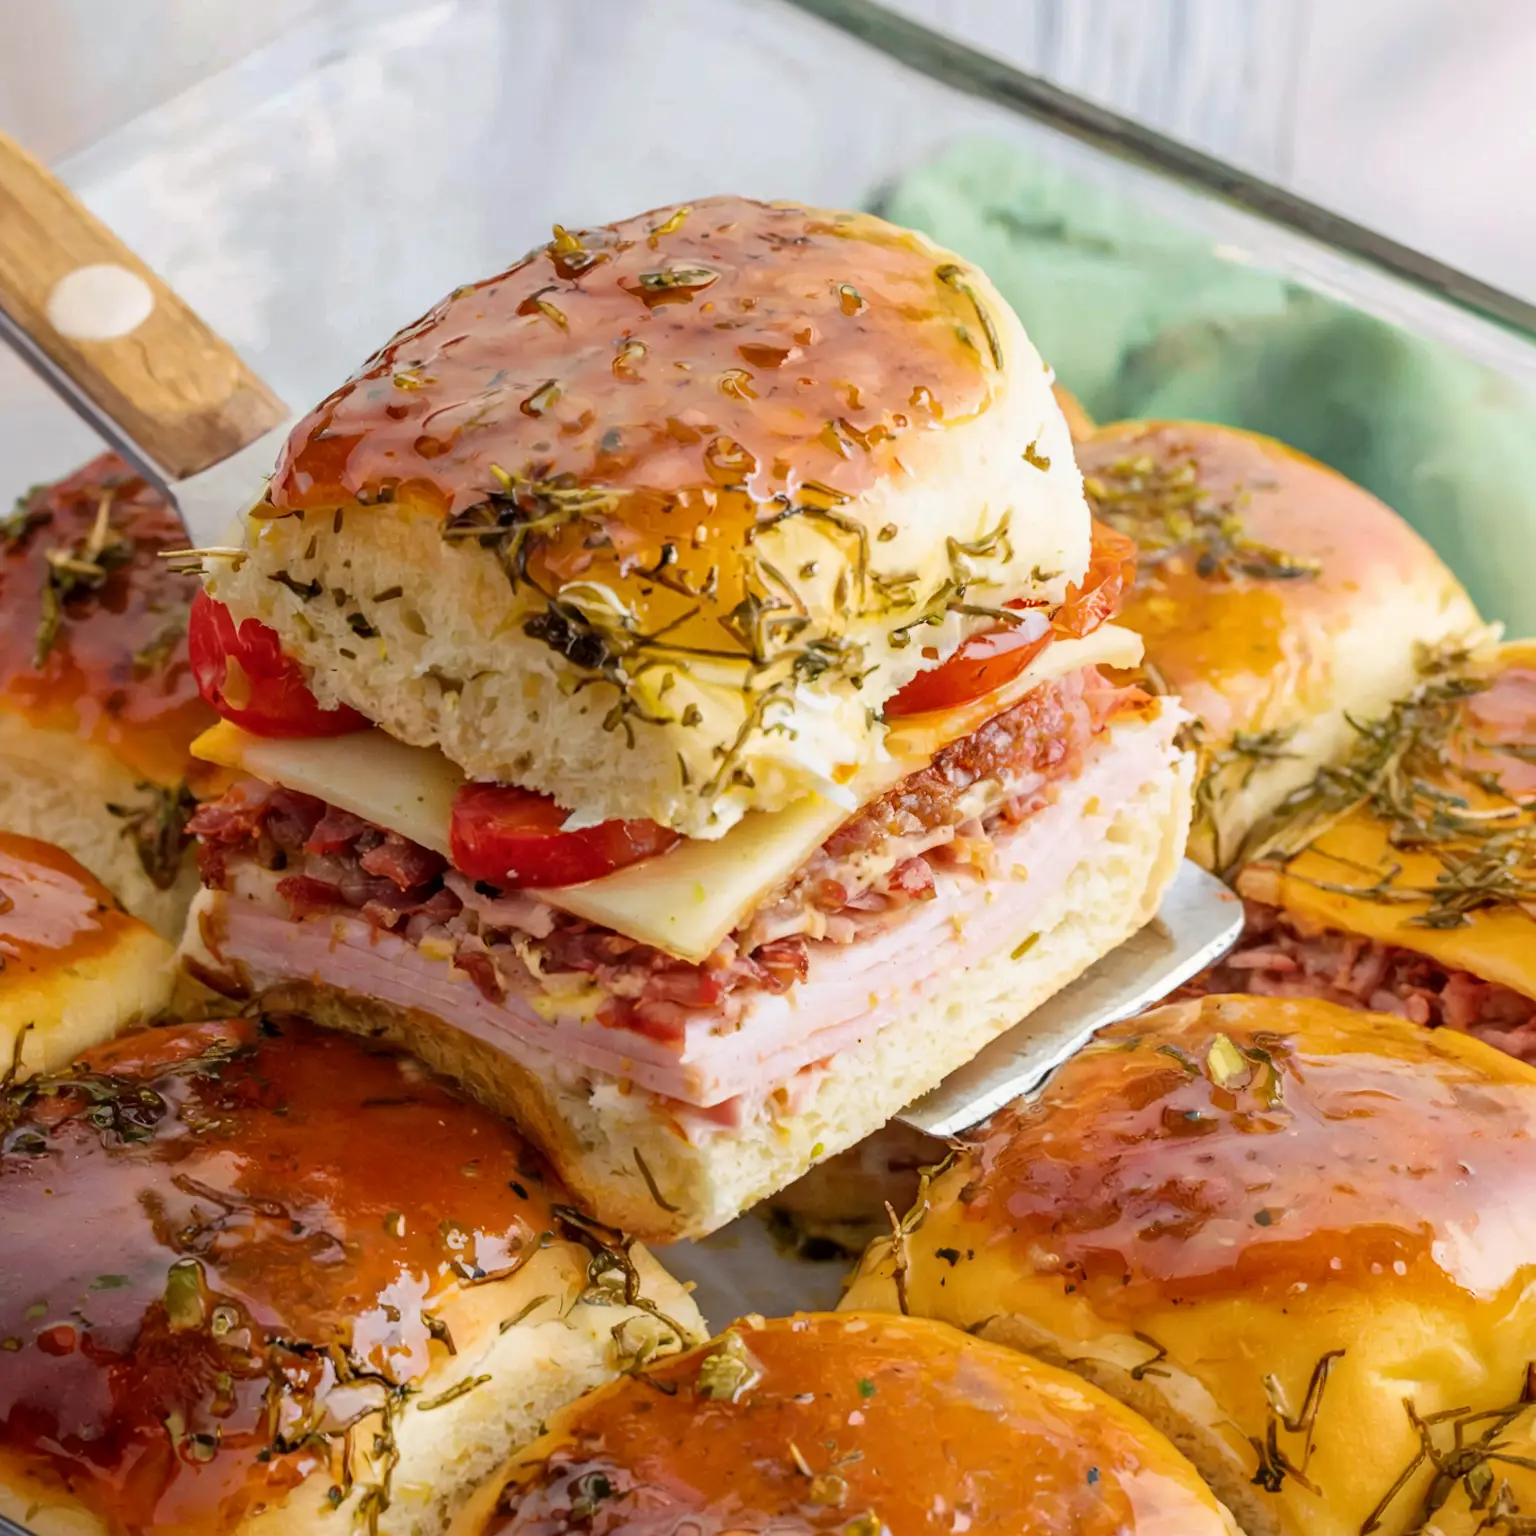
- Don’t Skip the Butter Mixture: Brushing the rolls with seasoned butter enhances their flavor and gives them a golden, shiny finish.
- Adjust the Heat: Add chili flakes or hot peppers for a spicy kick.
- Make Ahead: Assemble the sliders up to a day in advance, then bake just before serving.
- Serve Warm: These sliders taste best when fresh and warm, with the cheese perfectly melted.
How to Prevent Sliders from Getting Soggy?
To prevent soggy sliders, start by pre-toasting the bottom rolls in the oven. This creates a crisp barrier that protects the bread from absorbing too much moisture. Additionally, make sure to pat dry ingredients like banana peppers and meats to remove excess liquid, which can seep into the rolls and compromise their texture. Spreading a thin layer of mayo or butter on the rolls also adds a flavorful shield against liquids, helping to maintain their structure. Finally, serve the sliders immediately after baking, when the cheese is melty and the rolls are freshly toasted, for the best flavor and texture.
How to Prevent Sliders from Getting Soggy?
To store leftover Italian sliders, place them in an airtight container to maintain their freshness and flavor. Store them in the refrigerator for up to two days to maintain freshness. When it’s time to enjoy them again, wrap the sliders in foil and reheat them in a 325°F oven for about 10–15 minutes. This method ensures the rolls stay soft, and the fillings warm evenly without becoming soggy. Alternatively, for a quicker option, you can use the microwave, heating in 30-second intervals, but note that this might slightly soften the texture of the rolls.
How To Make This Italian Sliders Recipe:
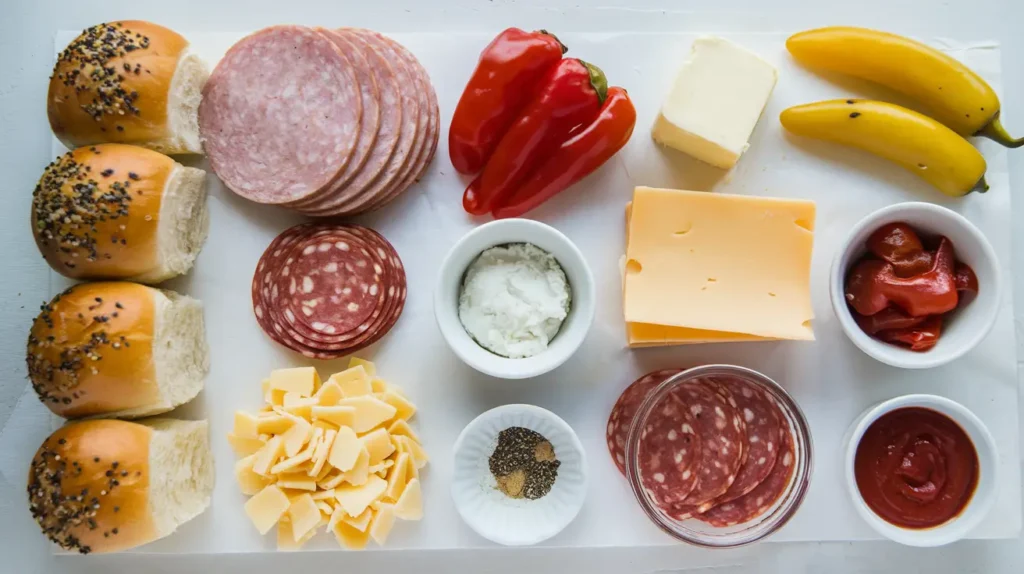
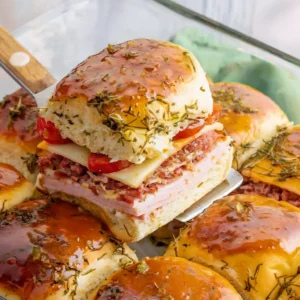
Italian Sliders Recipe: The Best Hot Italian Sub Sliders
Equipment
- baking dish
- Mixing Bowls
- Pastry Brush
- Sharp Knife
- Aluminum foil
Ingredients
For the Sliders:
- 12 Hawaiian rolls cut in half
- ⅓ cup mayonnaise
- 12 slices provolone cheese
- ½ pound hard salami coarsely chopped
- ½ pound pepperoni coarsely chopped
- ½ pound thinly sliced turkey coarsely chopped
For the Lettuce Mixture:
- 8- ounce bag shredded lettuce
- ½ cup red onion diced
- ½ cup chopped banana peppers
- ¼ cup mayonnaise
- ¼ cup dill relish
- ¼ cup Italian dressing
For Seasoned Butter Mixture:
- ¼ cup butter melted
- ½ teaspoon garlic powder
- ½ teaspoon oregano
- ½ teaspoon basil
Instructions
- Preheat the Oven: Begin by preheating your oven to 400°F (200°C) to ensure even cooking. Line a 9×13 baking dish with parchment paper for easy cleanup and to prevent the sliders from sticking during baking.
- Prepare the Lettuce Mixture: In a medium-sized mixing bowl, combine the shredded lettuce, diced red onion, banana peppers, mayonnaise, dill relish, and Italian dressing. Stir thoroughly until all ingredients are evenly coated. Cover the bowl with plastic wrap and place it in the refrigerator to chill while you prepare the rest of the sliders.
- Cook the Meats: Heat a large skillet over medium heat. Add the chopped turkey, pepperoni, and salami, and cook for 3–5 minutes, stirring occasionally, until the meats are warmed through and lightly browned. Remove from heat and set aside.
- Toast the Bottom Rolls: Place the bottom halves of the Hawaiian rolls in the prepared baking dish. Spread an even layer of mayonnaise over the rolls. Bake in the preheated oven for about 8 minutes, or until the rolls are lightly toasted. This step helps create a sturdy base for the sliders and prevents sogginess.
- Assemble the Sliders: Remove the toasted rolls from the oven. Start by layering provolone cheese slices over the toasted rolls, ensuring full coverage. Next, evenly spread the cooked meat mixture over the cheese layer. This ensures consistent flavor in every bite.
- Add the Top Rolls: Carefully place the top halves of the rolls over the assembled layers, aligning them with the bottom rolls for a uniform appearance.
- Prepare the Butter Mixture: In a small bowl, combine the melted butter with garlic powder, oregano, and basil. Use a pastry brush to generously coat the tops of the rolls with the butter mixture. Reserve a small amount of the butter mixture for additional brushing later.
- Bake the Sliders: Cover the baking dish with aluminum foil, ensuring the foil doesn’t touch the tops of the rolls. Bake the sliders in the preheated oven for 5 minutes. Then, remove the foil and bake for an additional 5–7 minutes, or until the tops are golden brown and the cheese is fully melted.
- Add the Lettuce Mixture: Once baked, carefully remove the top halves of the rolls. Spread the chilled lettuce mixture evenly over the meat layer. Replace the top rolls, pressing gently to secure them. If desired, brush the tops with the remaining butter mixture for extra flavor.
- Serve and Enjoy: Allow the sliders to cool slightly for 2–3 minutes. Use a sharp knife to slice them into individual portions. Serve them warm.
Notes
- Cheese Variations: Swap provolone with mozzarella, cheddar, or gouda to experiment with different flavors and textures. These options add a unique twist to the traditional slider.
- Make it Spicy: Incorporate crushed red pepper flakes, spicy Italian sausage, or a drizzle of hot sauce to enhance the heat.
- Low-Carb Option: Replace the Hawaiian rolls with lettuce wraps or keto-friendly buns for a lighter, low-carb version.
- Add Vegetables: Include grilled bell peppers, roasted zucchini, or sautéed mushrooms for a flavorful and nutritious addition.
- Herb Infusion: Sprinkle fresh basil, oregano, or parsley on top of the sliders before baking to enhance the aroma and taste.
- Customize the Butter Mixture: Mix grated Parmesan or garlic into the melted butter for an extra burst of flavor on the rolls.
Italian sliders Recipe Nutrition Facts:
| Nutrition Facts (Per Serving) | Amount |
|---|---|
| Calories | 506 |
| Carbohydrates | 19g |
| Protein | 20g |
| Fat | 38g |
| Saturated Fat | 15g |
| Sodium | 1379mg |
Note: Nutrition values are approximate and may vary based on portion size and toppings.
Tips and Variations:
- Cheese Options: Swap provolone for mozzarella, cheddar, or gouda to explore different flavors and textures.
- Make it Spicy: Add crushed red pepper flakes, hot sauce, or spicy Italian sausage to give your sliders a fiery kick.
- Low-Carb Version: Replace the Hawaiian rolls with lettuce wraps or keto-friendly buns for a lighter alternative.
- Add Veggies: Enhance the sliders with grilled vegetables like bell peppers, zucchini, or mushrooms for added flavor and nutrition.
- Herb Butter Upgrade: Mix fresh or dried herbs like basil, parsley, or oregano into the melted butter for extra aroma and taste.
- Sweet and Savory: Drizzle a touch of honey over the rolls before baking for a sweet and savory combination.
Frequently Asked Questions:
Yes, you can assemble the sliders, cover them tightly, and refrigerate them for up to 24 hours. Bake them just before serving to ensure the best taste and texture.
To reheat leftovers, wrap the sliders in foil and warm them in a 325°F oven for about 10–15 minutes. This keeps the rolls soft and the fillings evenly warmed.
Italian sliders go perfectly with a variety of sides, such as a crisp side salad, roasted vegetables, or even classic potato chips. Garlic breadsticks or a bowl of tomato soup can also complement the flavors.
Absolutely! You can swap the meats for grilled chicken, turkey, or even vegetarian options like roasted eggplant and zucchini. Experimenting with different cheeses and spreads adds another layer of creativity.
You can freeze the assembled sliders before baking by wrapping them tightly in foil and placing them in a freezer-safe bag. When you’re ready to bake, let them thaw in the refrigerator overnight and bake according to the instructions.
Italian sliders are a delightful, crowd-pleasing dish that combines bold flavors and ease of preparation. Whether for a casual gathering or a weeknight dinner, this recipe is sure to be a hit. Try it today and elevate your slider game!
Don’t forget to check out other Sliders recipes and share your results and leave a comment below. We’d love to hear your feedback!

